Pages

Thursday, April 26, 2012

DIY Scrapbook Paper Wallflowers

As Rylan and I have figured out more of a daily schedule, I've had a little more time to get crafting and scrapbooking. The morning goes one of two ways: I either can't fully wake up and go right back to sleep after he eats, OR I get motivated by how messy my house is. On those lucky motivated days, I usually have some time to myself in the late afternoon that I spend scrapbooking (I have done about 6 pages of Rylan's baby book!) and the occasional craft.
This project took me a few days last week to complete. It started out really frustrating for me, but I like the way it has turned out! These scrapbook paper wallflowers were the perfect springtime addition to our dining room!

1. Choose! To make these flowers, pick out some of your scrapbook paper in several different coordinating patterns. Decide beforehand which ones you want to use for the center of the flowers, the petals, and other accents.

2. Cut! In order to form the petals, your scrapbook paper needs to be at east 20" long (the longer the easier- trust me!), but mine wasn't, so I had to use tacky glue to adhere two pieces together. The widths of the paper will vary depending on the size you want your flowers, anywhere from 2.75" to 5 or 6." In the picture above, the small orange flower is the 2.75" width and the large polka dot flower is has a 5.5" width, with the others varying in between.

 Left: Score the edge of one length in whatever fashion you want: the small orange flower is demonstrated below, a basic repeated triangular score. Other types include a more jagged, thin triangular score, small slits, or even wavy lines (as seen on the blue/green flower in the large picture above).


3. Fold! Accordion fold the paper in relation to the score- marks on the edges, as seen to the right. I made the mistake with this flower (my first) of making the folds too large, so smaller folds, though more difficult, will also be more beneficial. Be sure that your folds remain aligned with one another.


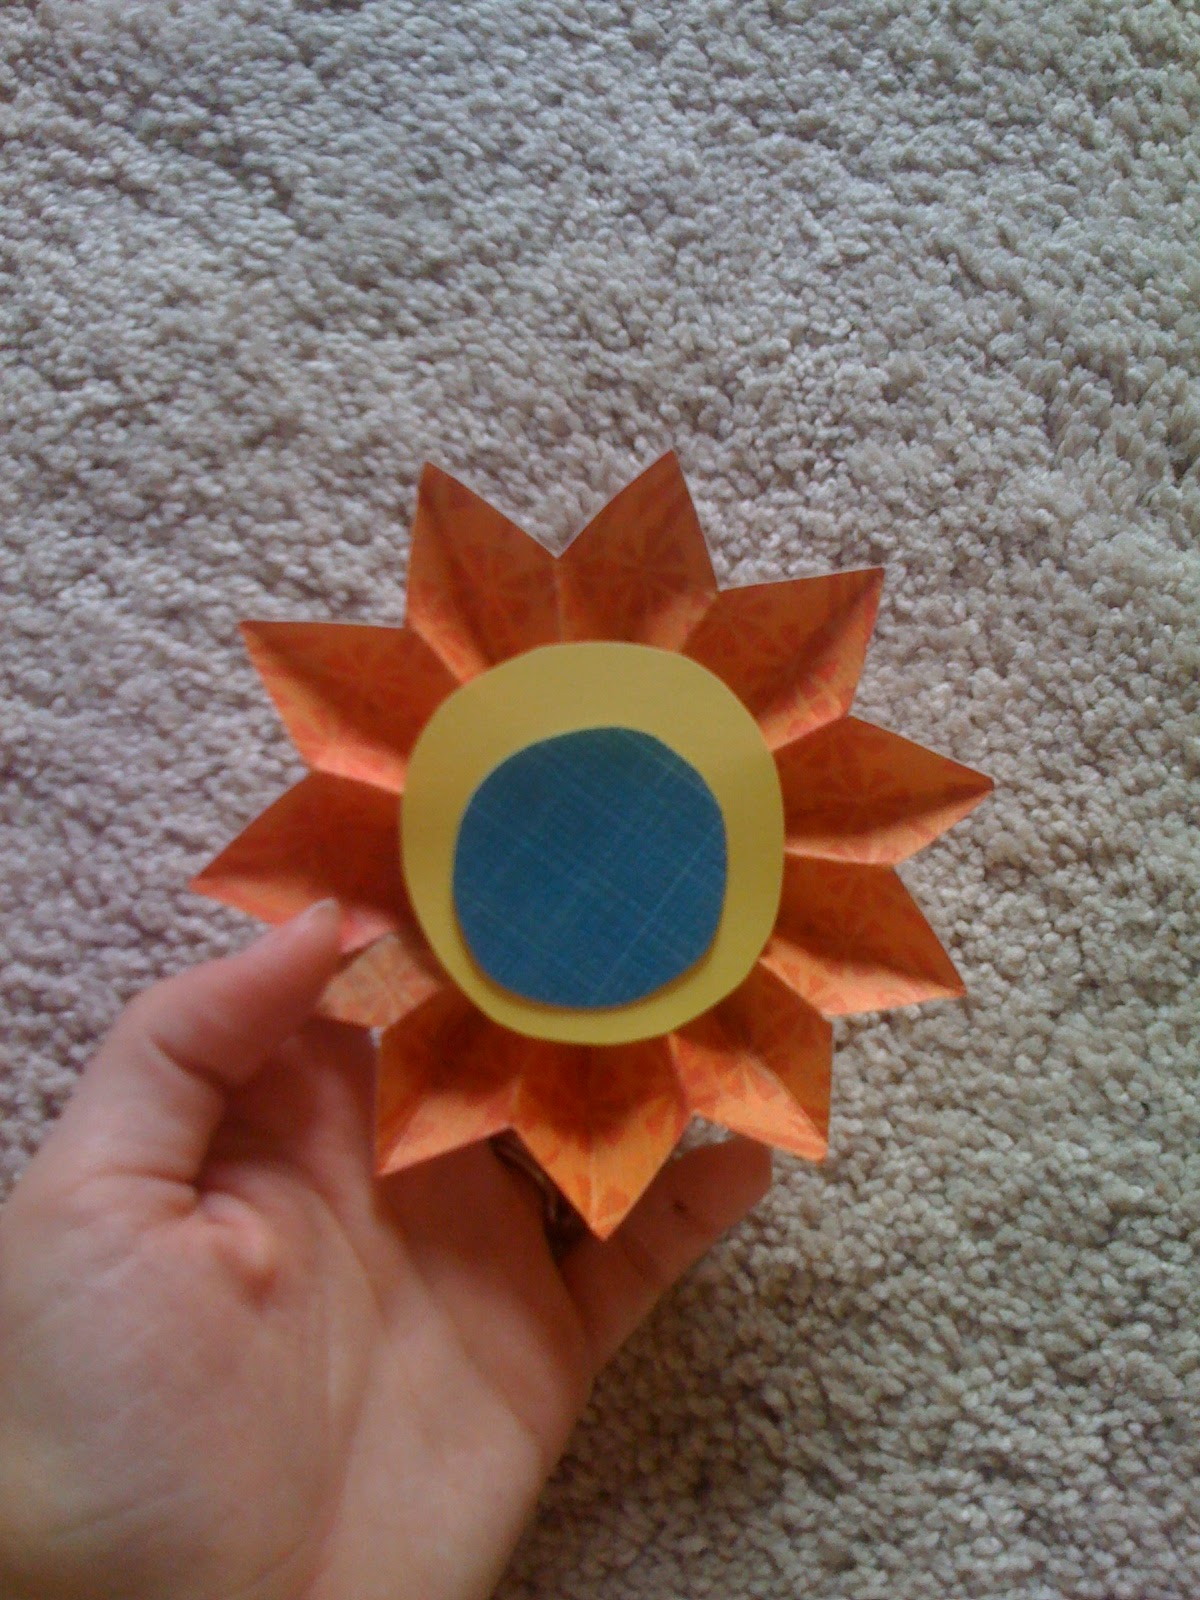
4. Bond! Glue the edges of the folded paper together to form a tube. When the glue is secure and dry, gently push down on the un-scored edge of the tube until it flattens. Mine were never able to fully flatten, so gluing the back was difficult- I used hot glue for this part since it hardens quickly and holds paper well. Then I simply cut out two circles of coordinating paper for the center. You can use other items to be creative as well: buttons, fabric, beads, pearls, bling, anything!

5. Repeat! Use an appealing variety of colors, patterns, solids and shapes!

6. Show off! Hang your masterpiece somewhere it'll POP! To connect them, I used hot glue and balsa wood to create a stable foundation for all the flowers. To hang them, I (shamefully) used tape! But it worked, so I guess I'll just call it "using my immediate resources" instead of "being straightup tacky."


Hope you enjoy this project as much as I did!

Tuesday, April 24, 2012

BEST Mommy Blog!

Being a new mom is both nerve-wracking and exciting! I always seem to have questions, and I feel like I'm asking anyone and everyone for advice! We've been conservatively implementing the practices of Gary Ezzo's BabyWise and we have really appreciated the results. But there are times that a book can't answer questions, so I always seem to resort to searching Google.

This blog (link below) has definitely answered a lot of my questions, and she's just a normal mom who sets aside a little extra time to blog, which I appreciate AND admire!


Friday, April 20, 2012

CUTE DIY Burp Cloths


Thanks to Pinterest and a day well-spent with my dear sister-in-law Jill and her trusty sewing machine, I now have CUTE burp cloths to use. Because using the un-cute ones just wasn't good enough for me. Oh no.

To cute-ify my burp cloths, I bought the Gerber birdseye cloths diapers and several swatches of fabric from Wal-Mart. Note that my fabric is not the appropriate gender-- it is feminine. Just because I have a boy doesn't mean that everything I own has to be blue and red.So I branched out.


After pre-washing everything, all we did was cut the fabric the appropriate size to cover the rectangular middle section of these burp cloths that bows out. Jill sewed while I picked out my bells and whistles (i.e. additional decorations, such as ribbons and buttons.)

So easy!


Wednesday, April 18, 2012

The "Mom" Haircut

The "Mom" Haircut can be defined in a few different ways:
a) the new hairstyle a woman gets shortly after becoming a mother that makes her look older and more established
b) the result of a baby with a strong-willed grip combined with a mother's sensitive head
c) the need for change inspired by poorly cared for hair (due to the busyness of a baby and the laziness of me)

You know when your hair gets to the point where you just don't feel like doing it anymore because you're bored with it and it's incredibly unhealthy? I'm sure all women have been there. Getting out of the shower to look at that mop that you just don't feel like touching (but of course it would never dry reasonably tame by itself!) is never fun. My solution was a drastic haircut, six inches of the bottom, thank you very much! I wish I had a picture of the dark brown "monster" on the floor of the Mane Attraction in El Dorado. I thought I would never cut my hair short because I had such thin, mousy hair as a child, so I greatly values the hair growing on my head! But alas, it was time.

Here is the end result, and I am very much pleased, as it only takes about 15 minutes to dry and style!


At first I was ashamed to join the bandwagon of "short haired" moms- haha.  But in the end, there is nothing to be ashamed of. I did what was best for me :)


Saturday, April 14, 2012

Happy Two Months, Rylan!

I can't believe it!
My little Rylan-Boy is two months old already! I know it sounds crazy, but this is going by toooooo quickly already! I was looking at pictures I took at his first month and comparing them to his second month, realizing how much he has grown! This is indeed no surprise to us, since it's about two and a half pounds later.... (what happened to my 5.5 pound baby???? That carseat carrier sure is getting HEAVY!) Here are some pictures to compare his size:


March 14, 2012: Rylan's one month old!


Look at those scrawny little legs! How irresistible :)


And those ARMS! SO fragile!
Yes, we bought a Valentine's Day tie to celebrate the day he was born on (since I was in labor that entire day, with the induction starting at 5am- Nick and I did little to no celebrating on our first Valentine's Day as a married couple!)


To contrast sharply, observe Rylan today, April 14, 2012 at two months old:
CHUBBY CHEEKS-so kissable! hahah
pouty face!

What a change a month can make! Someone must be feeding him heartily :)
Expect many many more update and pictures to come.
I love being Rylan's momma!


Monday, April 9, 2012

Grasshoppa Pie!

I'm gon teach you folks how to make easy grasshoppa pie! (Ok, that was just for effect, I felt like talking like that for a minute.)

This dessert is one of my all-time favorites, and VERY easy. It's just the right time of year for a nice GREEN dessert that will cool you off as you sit on the porch outside! (Having the time to do that is always a fantasy of mine...) I think I like this dessert so much because sometimes I just feel like a good old fashioned break from cookies and brownies for dessert, but some desserts are SO complicated!

This recipes only calls for four ingredients:
1 gallon mint chocolate chip ice cream
3 tbsp. butter
1 pkg. Oreos (you might have leftovers!) or chocolate cracker things (like Teddy Grahams)
1 jar hot fudge sauce


Leave your ice cream on the counter so it softens. Crush the Oreos or cookies. I put them in a plastic storage Ziploc bag and use the back of a glass cup. Melt the butter in a medium-large bowl and mix the crushed cookies in, stirring until all cookies are moist. Press the cookie mixture into the bottom of a glass pan (for a thicker ice cream bar, use 8x11, for thinner use 9x13). Bake at 350 for ten minutes. Allow the crust to cool before scooping the softened ice cream into the dish. This is where you can get creative- layer the ice cream with hot fudge, alternating however you like. Use the entire gallon of ice cream and then top with a final drizzle of hot fudge. Stick it in your freezer then to allow everything to stick together, and you got yourself some grasshopper pie!

Enjoy!