Pages

Showing posts with label Remodeling. Show all posts

Saturday, September 22, 2012

OFFICIALLY A WICHITA RESIDENT!

Though it has not happened the way we thought it would, we are have arrived!

We THOUGHT we would be a buying a home to settle down in for a little while...
NOPE!
We THOUGHT we would be here about 2 months ago...
NOPE!
We THOUGHT we would be flipping, painting, deciding and decorating...
NOPE!

But it's time to move past all that and look at the future. We are moving in today to a decently spacious aparement in a conenient location in Wichita, and we are very excited about it! In the past, Nick and I have thought that renting is equivalent to "throwing money down the toilet," but we are in fact ready to just settle, even if that means renting.

Once we calculated the money that Nick was spending in gas every month to commute an hour (by the way, these prices are simply horrendous!), we realized that was about even with the cost of rent. Isn't that ridiculous? This way Nick will be able to see his little boy more frequently :)

All to say, we are very excited/ready! My next post will be pictures of the whole moving affair-- before, during, and after.

Watch out, Wichita, the Browns are here!


Sunday, August 19, 2012

Our New House, For Real This Time!

Three months.
One hundred house tours.
Hundreds of dollars in gas money.
SIX OFFERS, and multiple other disappointments.

Let's face it. We were depressed. Life is hard when you have no place to settle in, to really call your own. We are so appreciative of the Browns taking us in and feeding us, but we are ready to be autonomous. So we are pleased to announce that we have found a home close to civilization that we love AND that we can afford. I love it when the inevitable collides.

Primary exterior pictures are below, but be prepared from the HOME REMODELING SERIES II, coming in about three weeks (or whenever we can close), consisting of before and after pictures like last time.

Yay! We have a home :)

I've got my paint samples ready and my list of doom* is in the works...
MUAHAHA-- be prepared, 29th Street!

*a list of doom consist of the nitpicky issues, either functionally or cosmetically that I have contrived based on a) my need for perfection and b) my desire to cure old things, including but not limited to: homes, furniture, artwork, etc. Oh, what a great stage of life we are in!

Saturday, July 21, 2012

REMODELING SERIES: THE BATHROOMS

This first photo is of the guest bathroom. We were too poor to replace the tub itself, but I scrubbed it raw! We first completed the tile the same as the kitchen's (since they are connected) and, in the process, purchased a new "throne." That was my idea. Sitting on like a seventy-two year old toilet did not sound like my idea of a good time. Both Nick and I utilized this shower instead of the master shower while it was being fixed up (this lasted for approximately the first 7 months we lived here. Oh, the curse of unfinished projects!) The walls were already textured (THANK HEAVEN!) but we added the bright yellow paint! The finishing touch: tileboard in the shower.
This is the second bathroom we revamped, the master bath. As you can see, the previous owners had wonderful taste AND skill. We tore it up. To say the least. First, we painted the walls Cigar Bar (a lovely orangey red brown), chosen to compliment a gorgeous shower curtain we got as a wedding gift from Bed, Bath, and Beyond. We then tiled the bathroom, and put in a new throne, like we did to the first bathroom. Like the guest bath, we used a tileboard to complete the shower area.
Oh ya! I forget! In both bathrooms, we replaced faucets and the tub/shower hardware. This is what took us the LONGEST because we kept running into problems with the plumbing. But my dear husband kept with it, and now we are good to go!
Since we already moved, I don't have photos of our the guest bath, but just know it was bright and yellow! Not a crazy yellow, just a cute yellow.
Here are the photos of our master bath, all finished and ready to go:

nosy little puppy!


This was the last post in my home remodel series. Get ready for a new adventure!

Monday, July 16, 2012

REMODELING SERIES: THE BEDROOM

First, I would just like to ask, WHAT THE HECK?


Who thinks it would be a good idea to use WOLVES in the bedroom wallpaper? Honestly people! GET SOME TASTE!


After seeing the before pictures, it's easy to tell that most of the needs are sheerly cosmetic, but there are a lot of them! I'll give you a list to show what we've done:
1. Painted. We used a light green from Lowe's Valspar collection.
2. New carpet. The blue just wasn't cutting it for me.
3. Painted the trim. Looking back we should have done this before the c arpet was installed, but honestly, we just didn't have the time-- we had to have the carpet in so we could move in!
4. Wainscoting. I have loved the look that gorgeous clean wainscoting provides- instant style!
5. New doors and blinds. Much needed!

After Pictures:


Not the cleanest my house has ever looked, but when you are in the process of moving, what else can you ask for? This room was one of my favorites after its completion-- I got some of the best sleep of my life here!

Only one more post to go one this remodeling series! Watch out for REMODELING SERIES II coming... whenever we find a house to live in!


Wednesday, July 4, 2012

REMODELING SERIES: THE NURSERY

It is funny looking back at this, becuase we had no idea we were going to have a baby. And we decided (probably by the goodness of God) to make this house a two-bedroom by inserting a dividing wall (which I already talking about in my post about the living room).

Now that we have little 4-month-old Rylan, we couldn't be happier that we have a room to put him in! Here's another funny part-- we painted it this bright blue before we even knew we were expecting! And he's a boy! Oh, the irony.

So anyways, since I'm crunched for time before the next remodel we are doing (beginning July 18!) I am going to take the lazy route and utilize a previous post I made about cute babies' rooms.

Here's the link:

It was so much fun getting to make the bedding with my mother-in-law, and now seeing it in use by my little man is even better! 

Stay tuned for only two more posts on the remodel in this house, one on our bedroom and the bathrooms! 
Thanks!


Monday, March 26, 2012

Yard Work, Shmard Work

Colorado tends to be a bit behind Kansas in the changing of seasons, probably because of that dry Western air. In fact, during the fall time, I would try to pick out one weekend to go home from college after the leaves had turned in Kansas just so I could see them do the same in Colorado, the window was small but my Sophomore year, I hit it perfectly! It was enrapturing.

As Nick and I returned from our Spring break adventure to Colorado, we felt like we had stepped from the mountainous frigid air into a lush spring garden, just a state away. Everyone's lawns in Clay Center were green and freshly mowed, garden beds were inundated with new buds and blossoms, just teeming with life! We stared out the windows of the car in amazement.

And then we pulled up to our house.... EW! We realized just how much work needed to be done! Though the air was humid and buzzing with spring insects and birds,  our house seemed to be a few steps behind. It seemed saggy, lonely, bedraggled. Leaves scattered our patchy yellowed grass and the bushes surrounding our house ran wild. No flowers bloomed at the Brown's house.

Something  HAD to be done about this. SO yesterday we all packed up into Nick's truck and we went yard/lawn shopping at Menard's!

Then today, we put it all to practice. First, Nick raked the leaves. 28 bagfuls. And the problem STILL wasn't taken care of! We just ran out bags....


Then, he mowed the yard and replanted grass where it should have been all along. He also completely swept the front and back porches (my hero!) and watered all the new plantlife. Yay Nick!


My job was the cosmetics, i.e. the flowers. We had bought pansies, violas, rose bushes, rudbekias, hosta plants wildflowers, etc. and now I had to decide where to put them. And I discovered that potting soil is not my friend at all! But here's how it turned out:


Hopefully the pansies to the left perk up a bit after some tender loving care!


 Thanks to the Goodwill, I got this gorgeous green pot dirt cheap, and filled it with some hydrangeas (maybe that's what those pink things are called??) and purple/yellow pansies.

OOOOOooooooooooooooooooooooooooh!!!!!!!!!!!
And of course this amazing six-plant pot, courtesy of my aunt as a wedding gift from Ten Thousand Villages (I LOVE this place!) is filled with violas that are already starting to look a little less sickly (which was my ultimate goal).

Please ignore the color of our house, as it is subject to spontaneous change at any moment.


I love the tulips, but alas I cannot take credit for them. I didn't plant them- they just seem to grow like weeds around our cement. We intend on digging up the bulbs to relocate them.


Hopefully I have inherited my grandma Orange's green thumb. She is an amazing gardener and I would love to (someday) acquire that status, although, as we can see, that is going to take a lot of work and even MORE faith!!!!

This is the big picture:


Still nothing to be too amazed about, but the house has come such a long way! And, yes, I may have chosen to paint our front door orange, and it may have turned out brighter than anticipated.... and we may be embracing it!!!!!!!!!!!!!!!!!!!!!!!


I think it is my mission in life to convince EVERYONE that orange is the best color ever!


Sunday, January 15, 2012

Nick Let me Have a Purple Room!

Well, even though it's only the laundry room, this is a big deal! I figured he wouldn't be going in that room much anyways... My room, my color!

Below you can see a little of my laundry room decour! The first picture is super simple-- writing on scrapbook paper and framing it. I have to remind myself while I am folding laundry (the most monotonous of tasks) that this is how I show him I love him :) Being in a purple room does make it better though!!!
SO TRUE- DIY wall art :)

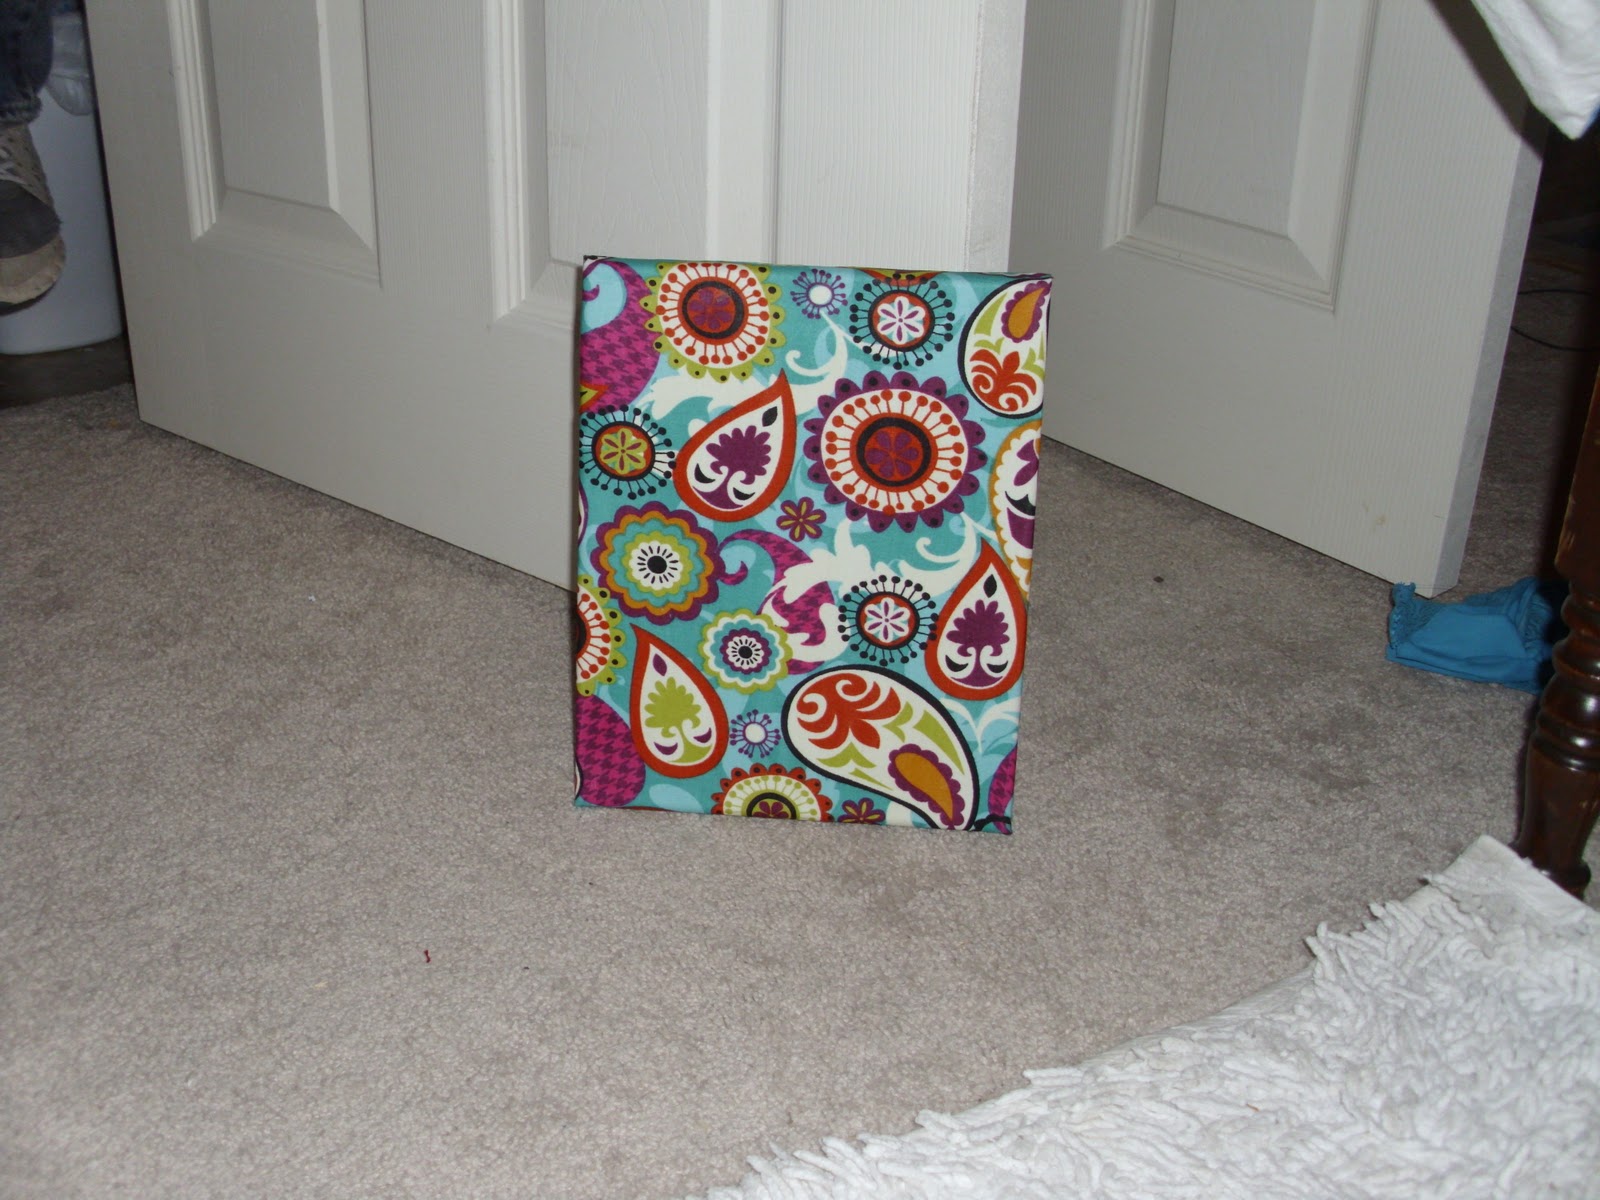
 Due to being pregnant, folding laundry has become difficult-- back pain!!! Sooooo I bought this cheap pink plastic stool, covered it with MIRACULOUS MOD PODGE and 1/4 yard of fabric and used the leftovers for a matching canvas! Yay pain relief!

DIY refurbishing using mod podge!


Thursday, January 12, 2012

Little One's Room: How to Make a Baby's Room Cute


How to Make a Baby's Room Cute

This is the cluttered version of the baby's room. The goal: ORGANIZE and SIMPLIFY!
Here are the steps:
1. Make the space. Even though they are so so tiny, babies require so so much room due to the overflow of toys and gadgets, so making sure that you have enough room for these things is necessary. In a small room like the one we have set aside for the baby/office/crafts/scrapbooking/Nick's reptiles (yes--he has turtles and a gecko), we had to be organized via tubs, crates, cardboard boxes.

my "organized clutter"

Cover the shelving with fabric like a curtain using Velcro (just a tip from a no-sew kinda gal like me!!) to hide the clutter. If clutter drives you insane, you're in good company! Even if you choose the cheapest white muslin, you can take fabric paint or felt flowers to the corners and add some personalized details! I have no picture for this because I am ashamed to say I haven't done it yet-- if you came to my house you'd see the CLUTTER!

2. Find out the gender. I know that not everyone agrees with me on this topic, so I definitely recommend you to do what YOU need to do, but for me to feel sane, I HAD to know that March 7, 2011 would bring a little boy into this world, not sugar and spice and everything nice.This way I was able to adjust my plans for the room and be fully prepared! (not that that can ever really happen...)


 3. Generous family/friends/support system who is willing to donate new and used supplies to your cause is a MUST. After spending Thanksgiving with my wonderful family, we left with quite the overflow of baby supplies, but they are all so necessary! Thank you Oranges and Browns!!!


Dear Mom, Thanks for bringing my close friends and family together to celebrate!

Playing the diaper game at my shower-- my dear friend Jamie was mortified!

This is me at about 25 weeks (just under 5 months-ish) -- Spending time with the family for a Happy Thanksgiving!

 4. Infuse YOUR style. Yes, this may be kind of difficult when it is easier to just buy, but I guarantee you will appreciate your room more if you took the time to make half the decorations in there as opposed to relying on Carter's. Your own unique style will satisfy you more than someone else's, so get creative!


The binding gave us grief but we pressed on! Literally!
I had hardly used a sewing machine before, but my great mother-in-law took the time to show me, and we ended up making the baby's bedding (excluding a fitted sheet!!! Those seem too difficult!) in one day-- we created bumper pads, a dust ruffle, quilt, and matching curtains. If I can do it, so CAN YOU!!!

The finished product!

Another way to infuse your own style into the baby's bedroom is to refurbish some old dressers according to your style. Not to mention this is a cheap way to stay organized!!! Below I simply bought some Hobby Lobby fabric that I thought was sort of gender-neutral (girly but boy colors I guess) but still matched the bedroom (in case these dressers end up elsewhere in the future) and used mod podge to cover the deteriorating wood! I am proud of our minimal financial strain on this project: refurbishing the "set" of two dressers that are now sitting in Baby Boy Brown's room cost us less than $10.00!

The bigger dresser we found our garage, left to the spiders by the previous homeowner, and I'd like to think it's now a masterpiece! The smaller dresser is a nightstand we found in the neighbor's trash. I am very proud of the transformation!!!

BEFORE
DURING

AFTER
5. Do something extra special. For me, this meant hanging a canvas that I painted of the Colorado mountains on the west wall, over the baby's crib. There's no real significance to this other than that I grew up in Colorado, and am, of course, still dearly attached to it, so I decided this must be where the painting should go! For others this might mean a picture of mom and dad above the crib, a picture of extended family, etc. When you're pregnant you're emotional and sentimental anyways, so indulge that!!!


6. Don't sweat the small stuff. Realize that the day the baby arrives is NOT the end of your chances to prepare for his or her life-- you're going to have a little bit of time to adjust to this new life before they advance to the next stage of theirs-- so enjoy it. Love your babies because babies don't keep :)